Last updated November 17, 2026
The ADU Design Process: From First Sketch to Permit Set
Most homeowners assume an ADU project stalls at the zoning counter. In our experience, the far more common reason a North Las Vegas permit application gets kicked back on first review is a plan set that isn’t complete – missing site calculations, energy compliance documentation, or a structural detail a reviewer needs before they can approve an assembly. Design isn’t a creative exercise that ends when you hand over drawings. It’s a technical translation of your goals into a document set that plan reviewers, your structural engineer, your trade subcontractors, and your build crew can all read and execute without guessing. This guide walks through what that translation actually looks like, stage by stage, so you know what to expect and what to hand your designer before they start drawing.
Quick Answer
The ADU design process runs from a written project brief through schematic sketches, design development, and construction documents, ending in a stamped permit set. A complete North Las Vegas plan set typically includes a dimensioned site plan, floor plans, elevations, foundation and structural details, energy compliance documentation, and mechanical, electrical, and plumbing rough-ins. The clearer your brief and the earlier your engineer is involved, the fewer review cycles you’ll face.
Table of Contents
- Stage 1: The Project Brief That Prevents Redesigns
- Site-Built vs. Prefab: How the Drawings Differ
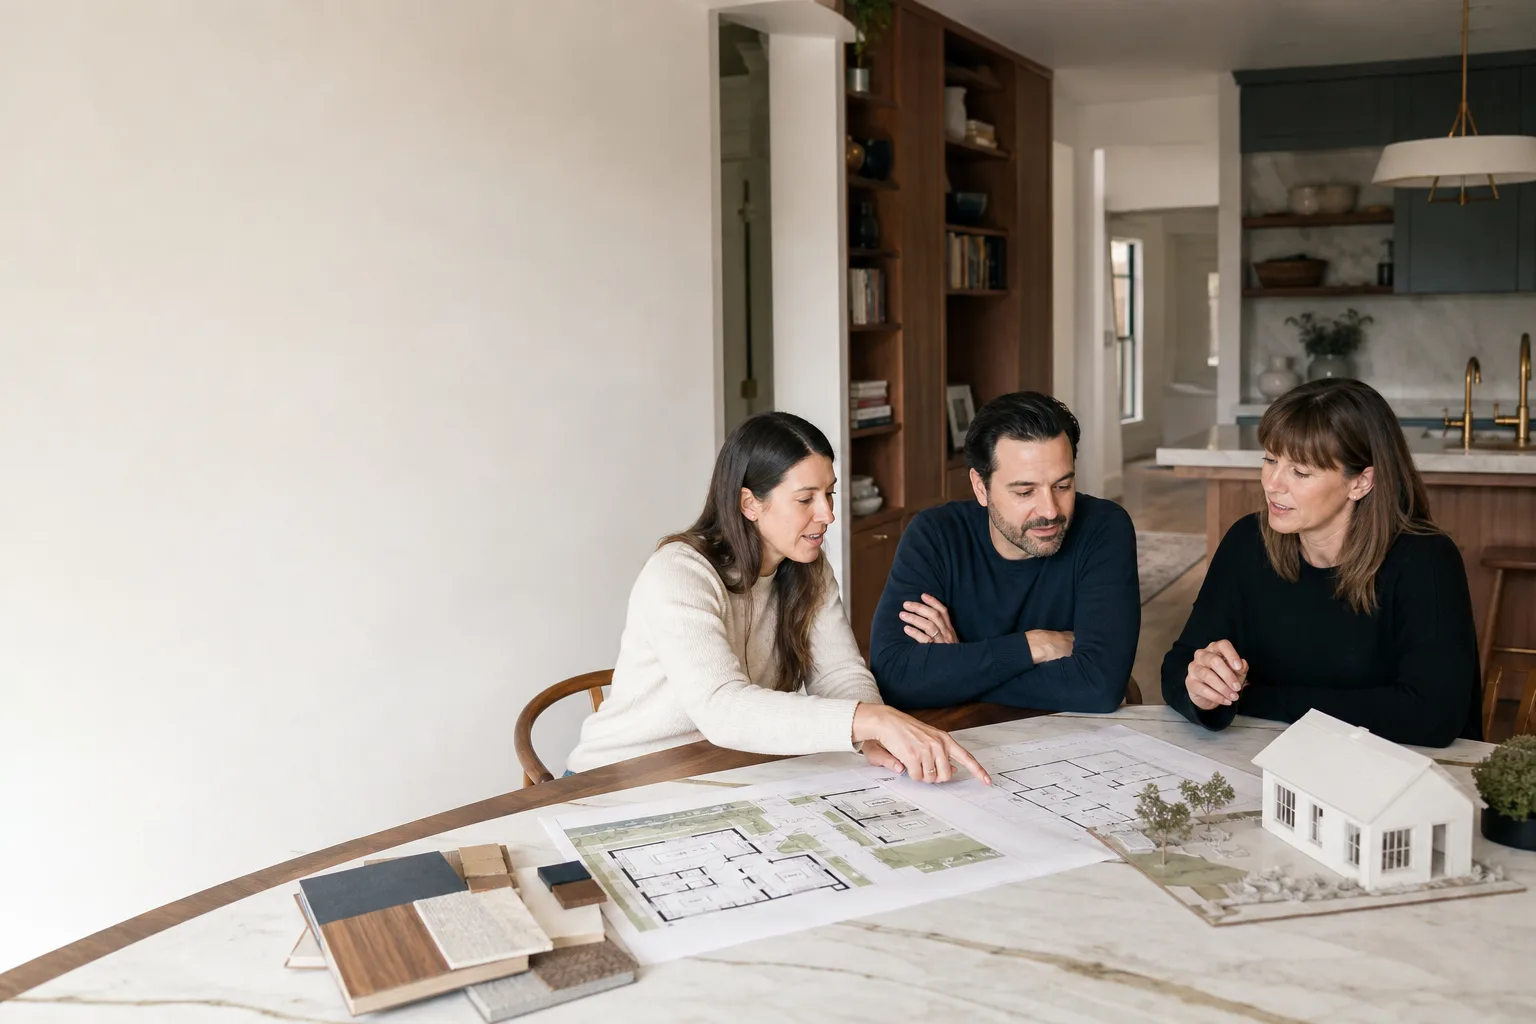
- What a Permit-Ready Plan Set Must Contain
- The Architect-to-Engineer Handoff
- What’s Locked at Permit and What Can Flex Later
- Designing for the North Las Vegas Climate
- How Plan Review Actually Goes
- Sequencing the Design Stages
Stage 1: The Project Brief That Prevents Redesigns
Before a single line gets drawn, a designer needs to understand three things: the site, the utility picture, and your goal hierarchy. Skipping any one of them almost guarantees an expensive redesign two stages later. A brief isn’t a mood board. It’s a working document that tells your designer what the building has to do.
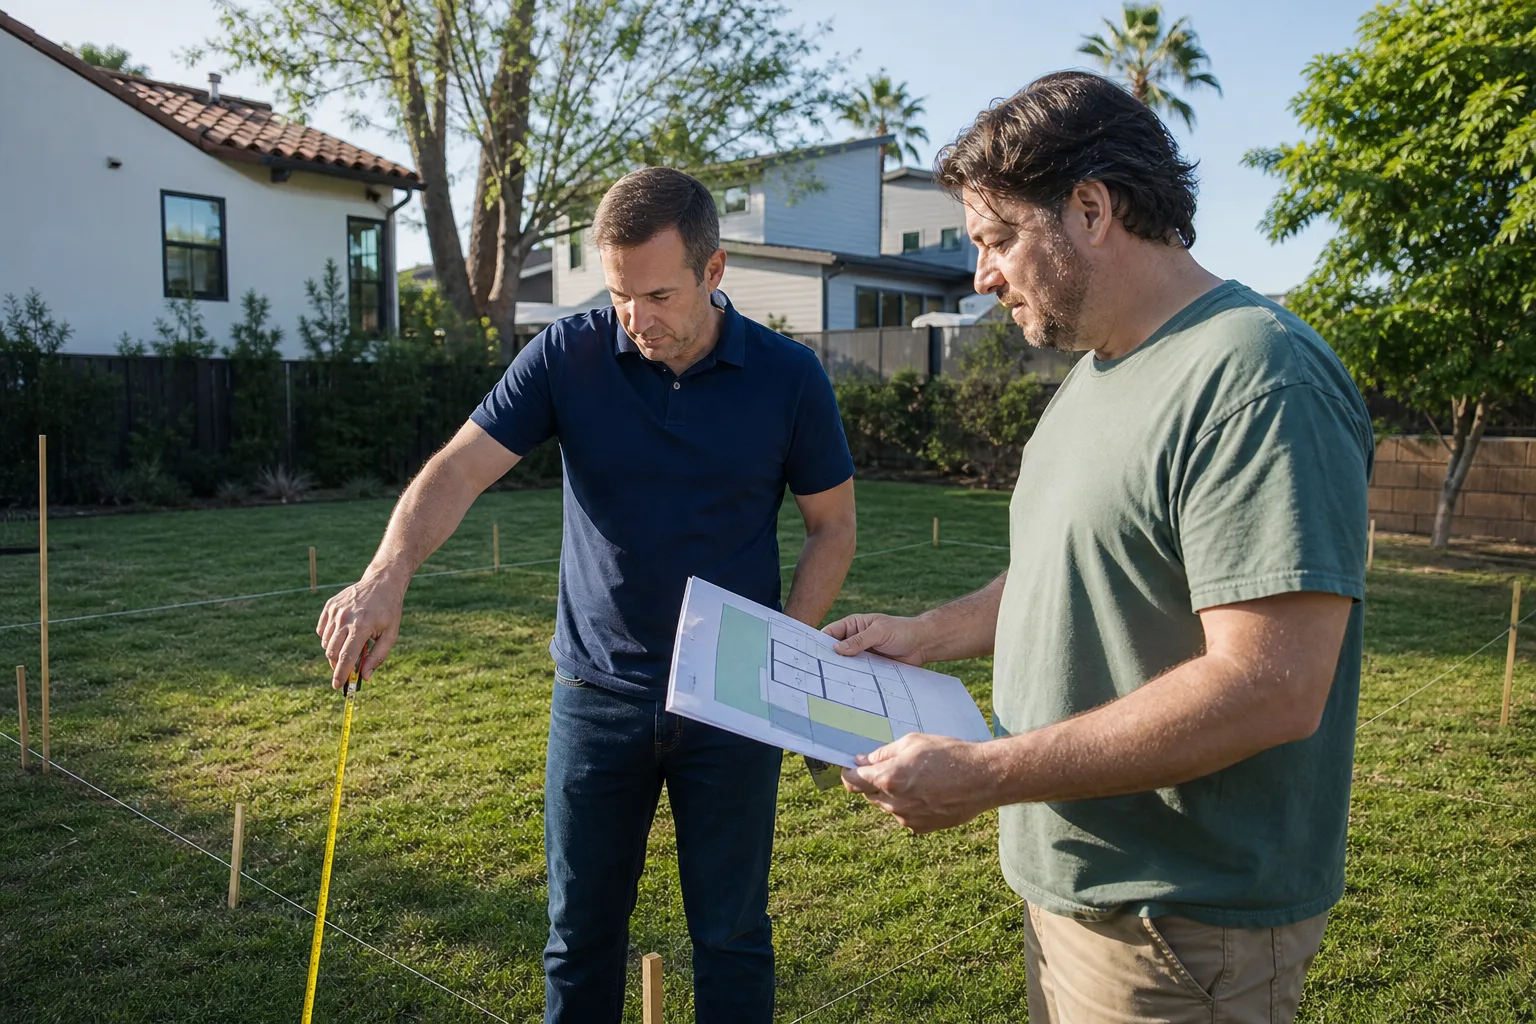
The site information matters most. Your designer needs a survey or at minimum measured site dimensions, property line locations, easements, and existing structures. If you have a recent plat or ALTA survey, hand it over. If not, expect a site visit and measurement pass before design begins.
Utility locations are the second input. Where the water, sewer, gas, and electrical service enter the property shapes where an ADU can economically connect. A unit placed far from the existing service panel and sewer lateral means longer runs, deeper trenches, and a bigger electrical service upgrade. Knowing this at the brief stage lets the designer work around it instead of discovering it during construction documents.
The third input is your goal hierarchy. Be honest about what the ADU is for. A unit for an aging parent has different priorities than one built for rental income, and both differ from a home office or guest suite. Rank your must-haves against your nice-to-haves:
- Primary use (family housing, rental income, workspace, guest space).
- Target square footage and bedroom count.
- Budget range, held as a firm ceiling rather than a wish.
- Access and privacy requirements between the ADU and main house.
- Parking needs and how vehicles move on and off the property.
- Any future plans for the main house that the ADU should anticipate.
When those six answers are on paper before design starts, the schematic phase moves fast. When they change mid-drawing, the whole document set has to be re-coordinated. If you’re early in planning, our ADU builders can help you scope the project against these six points before you commit to a designer.
Site-Built vs. Prefab: How the Drawings Differ
A site-built ADU requires a full set of original construction documents, because everything – foundation, framing, envelope, connections – is designed for your specific lot. A prefab ADU arrives with pre-engineered structural drawings from the manufacturer, and your local design work focuses on the site, the foundation interface, and utility connections. That difference changes the design process meaningfully.
Site-Built ADU drawings
- Full architectural set drawn for this lot and this design.
- Structural engineering stamped for the specific foundation and framing.
- Complete energy compliance documentation generated for the assembly.
- MEP designed and detailed for the specific layout.
Prefab ADU drawings
- Manufacturer supplies pre-engineered structural and envelope drawings.
- Local drawings focus on the foundation, site plan, and utility tie-ins.
- Site-specific adaptation handles grade, access, and connections.
Because we’re an authorized builder for Abodu, Cover, and Dvele, we can walk you through which path fits your lot and goals rather than steering you toward whatever one method our business happens to favor. A prefab system with factory-set structural drawings often shortens the local design phase, but the site and connection work still has to be done carefully. Site-built gives you maximum control over layout for a specific lot shape. Neither is better in the abstract – the lot and your priorities decide. Bringing a structural engineer into a site-built project early protects you from discovering a foundation problem after drawings are done, which is one of the most common reasons projects slip.
What a Permit-Ready Plan Set Must Contain
A complete plan set is what reviewers actually approve. When a set arrives missing a sheet, review stops and the clock resets. Here is the anatomy of a set built to clear first review. Local requirements vary by jurisdiction and lot, and we confirm the specifics with the city’s building and planning departments before plans are final, but a full set generally contains:
- Cover sheet with project address, scope, code summary, and sheet index.
- Site plan at scale, with property lines, setbacks, existing and proposed structures, easements, and dimensions.
- Floor plans with room labels, dimensions, door and window schedules.
- Elevations showing all four sides, roof pitch, and exterior materials.
- Foundation plan and details, stamped by the structural engineer.
- Structural framing plans and details.
- Energy compliance documentation covering the building envelope, insulation, glazing, and mechanical systems.
- Mechanical, electrical, and plumbing rough-in plans, showing locations and connections to existing service.
- Details sheets for any assembly a reviewer needs to approve – roof-to-wall, foundation-to-framing, and similar connections.
Every one of those items is a specific approval point. A set missing energy documentation stalls on the first reviewer pass. A site plan missing dimensions gets returned before the structural sheets are even opened. The whole point of the design phase is to assemble all of these correctly before submittal. Treat missing documentation as a cost, not an inconvenience – each review cycle adds time and often triggers changes elsewhere.
The Architect-to-Engineer Handoff
The coordination between designer and structural engineer is where a huge share of delays live. The designer draws the building; the engineer proves it stands up. When that handoff is sloppy, the engineer sizes beams to assumed loads that don’t match the architect’s finished drawings, or a foundation detail conflicts with an architectural section. The reviewer catches it, and you lose a cycle.
A clean handoff looks like this:
- The designer completes schematic design and locks the footprint, height, and roof form.
- The engineer receives the architectural set plus any geotechnical information available for the site.
- The engineer produces foundation, framing, and connection drawings against those architectural drawings.
- The designer and engineer reconcile the two sets before anything is submitted.
- Final construction documents combine both into one coordinated package.
The single biggest mistake is bringing the engineer in at the end to “stamp the drawings.” The structural design should be developed alongside the architectural design, so that the two stay in sync. This matters even more for a prefab system, where the manufacturer’s structural drawings must be reconciled with the local foundation and connection design. A builder who has done this coordination repeatedly sees the conflicts early. That’s part of the value of a company that does nothing but ADUs and additions. Our technicians have up to 10 years of experience in this type of work.
What’s Locked at Permit and What Can Flex Later
Not every decision is equally binding. Understanding which ones you can change cheaply keeps you from over-paying for detail too early – and from trying to make a change that forces a re-submittal. Here’s how we think about it.
Locked at permit submittal
- Footprint, setbacks, and height.
- Structural system and foundation type.
- Energy compliance documentation and envelope assemblies.
- Exit paths, egress windows, and life-safety features.
- Electrical service size and panel location.
Can typically flex during construction
- Interior finishes, paint, and flooring.
- Cabinetry and built-in dimensions within a defined zone.
- Fixture selection within a planned rough-in layout.
- Landscaping and exterior hardscape around the unit.
If you’re still refining the layout, finish the decisions that live in the top list before you submit. Even minor-seeming changes to footprint or egress can send a permit back for review. Finish selections can typically wait until construction is under way, since the framing has to go up first anyway.
Designing for the North Las Vegas Climate
Design in North Las Vegas is shaped by intense summer heat and low humidity more than anything else. That influences decisions that must be settled in the design phase, because they drive the energy documentation.
Envelope performance carries extra weight here. Window glazing, wall assembly, roof insulation, and shade strategies all feed the energy compliance package, so deciding them early is far cheaper than changing them after review. Shade matters, whether that’s roof overhangs, deep recesses for west-facing glass, or strategically placed planting. Orientation of the ADU against the afternoon sun is worth a conversation with your designer before the footprint is locked.
Efficient cooling design matters as well. On a compact unit, right-sizing the mechanical systems against the envelope is part of the design work, not an afterthought. Water-wise landscaping around the unit belongs in the design package too, since it shapes site drainage and hardscape placement. None of this is a “nice to have.” In this climate, envelope and shading decisions made in design show up on every future utility bill.
How Plan Review Actually Goes
Submittal is not the end of design; it’s the test. Reviewers check the assembled set against local code, and their comments become the final round of design work. Knowing how that loop typically runs helps you plan.
- Intake completeness check – does the submittal include all required sheets?
- Planning and zoning review – does the design match site, setback, and use requirements?
- Structural review – do the engineer’s drawings and details stand up?
- Energy and MEP review – do the compliance documents and rough-ins meet code?
- Comment response – any notes get addressed in a revised set.
- Permit issuance – construction can start.
The design goal is to clear every step on the first pass. Local rules for setbacks, height, size, and site review vary lot to lot, and we confirm them with the city’s building and planning departments before plans are final – which sometimes surfaces a constraint worth designing around rather than discovering later. Incomplete sets are the primary reason an initial review takes multiple cycles. That’s the central cost of loose design: you pay for it in review time.
Sequencing the Design Stages
Every ADU follows roughly the same design sequence, regardless of whether it’s site-built or prefab. The schedule itself is set in the written estimate – what varies is how long each stage takes based on the lot and how clear your brief was going in.
- Project brief – site information, utility locations, goal hierarchy.
- Schematic design – footprint, massing, layout, rough elevations.
- Design development – detailed plans, finishes, envelope assemblies.
- Engineering coordination – structural design developed against the architectural set.
- Construction documents – full permit-ready plan set assembled.
- Submittal and review – comments addressed, permit issued.
Doing the brief work up front is what keeps the later stages from looping backward. A designer who has to reopen the brief after schematic design is a designer spending your time on coordination instead of progress. For homeowners weighing a ground-up unit against other paths, our Casita Builders North Las Vegas team can walk you through the whole sequence from brief to submittal.
Common Mistakes to Avoid
- Skipping the survey or measured site plan. Without it, the designer draws on assumptions, and assumptions become expensive site plan corrections after review.
- Bringing the structural engineer in only at the end. Late engineering forces re-coordination across the whole set and is one of the main reasons reviews stretch out.
- Changing your mind after submittal on the locked decisions – footprint, height, or structural system. Each change touches the engineering and the energy documentation, sending the set back through review.
- Choosing a builder before you understand your best path. Prefab and site-built have different design costs and timelines, and the recommendation should follow the lot and budget, not the builder’s favorite method.
- Making energy decisions casually. In the North Las Vegas climate, glazing and envelope choices feed the compliance documents, and changing them late means redoing that work.
- Underestimating the MEP coordination. A foundation detail that conflicts with a plumbing rough-in doesn’t go away – it becomes a comment that resets the clock.
- Handing a designer a mood board without a goal hierarchy. Aesthetics are easy to change; purpose is not, and the purpose should drive the plan.
When to Call a Professional
Bring in a seasoned builder early in three situations. First, when you’re unsure whether site-built or prefab makes more sense for your lot – that decision shapes everything downstream, and choosing wrong wastes an entire design cycle. Second, when you’re planning a garage conversion, which hides decisions about structure, insulation, and code compliance that are easy to underestimate. Third, when you want a builder who can coordinate design, engineering, and construction as one package instead of handing you a set of drawings and wishing you luck.
Casita Builders North Las Vegas offers free estimates in North Las Vegas. Call (888) 563-2415. We answer 24/7. Fast dispatch from 7am to 7pm, Sunday through Friday. Whether you’re ready to design or still deciding between a new unit and a room addition contractor, we can help you choose the right path.
Frequently Asked Questions
A complete plan set typically includes a dimensioned site plan, floor plans, elevations, foundation and structural details, energy compliance documentation, and mechanical, electrical, and plumbing rough-ins. Local requirements vary by jurisdiction and lot, so we confirm the specifics with the city’s building department before plans are final. Call (888) 563-2415 for an exact quote – estimates are free.
Yes. With a prefab unit from a brand like Cover or Dvele, the structural drawings come pre-engineered from the manufacturer, but you still need a site plan, foundation design, and utility connection details developed locally. The design phase is shorter but still required. Call (888) 563-2415 to talk through which method fits your lot.
Design cost depends on whether you’re building site-built or prefab, the complexity of your lot, and the amount of engineering coordination required. We don’t quote a single flat design number because it varies so much by project. Call (888) 563-2415 for an exact estimate on your project – the estimate is free.
The written estimate sets the price, and that’s the number we work to. Design changes you request after the brief is locked are treated as scope changes, quoted transparently before work continues. Call (888) 563-2415 to schedule an estimate.
Yes. Permits are part of the process, and a complete plan set is what makes a permit clear review in fewer cycles. We confirm local requirements with the city’s building and planning departments before plans are final. Call (888) 563-2415 for details on your lot.
The design schedule is set in your written estimate and depends on the project type, lot constraints, and how quickly decisions get made. A clear brief and early engineering coordination are the two biggest levers on schedule. Call (888) 563-2415 to get a design estimate for your project.
The Bottom Line
The ADU design process is a technical translation, not a creative detour. Clear site information, utility locations, and a ranked goal hierarchy keep the design on track. A complete plan set – site plan, floor plans, elevations, structural details, energy documentation, and MEP rough-ins – is what clears review in fewer cycles. Bring the structural engineer in early, know which decisions are locked at submittal and which can flex, and design for the heat and sun that define a North Las Vegas build. Whether you go prefab with a brand like Abodu or site-built, the better the design work, the fewer surprises you’ll meet.
Call (888) 563-2415 for a free estimate. We answer 24/7. Fast dispatch from 7am to 7pm, Sunday through Friday. If you’re planning an ADU in North Las Vegas, our team will walk you through the design sequence and where your project fits.
Written by the team at Casita Builders North Las Vegas.